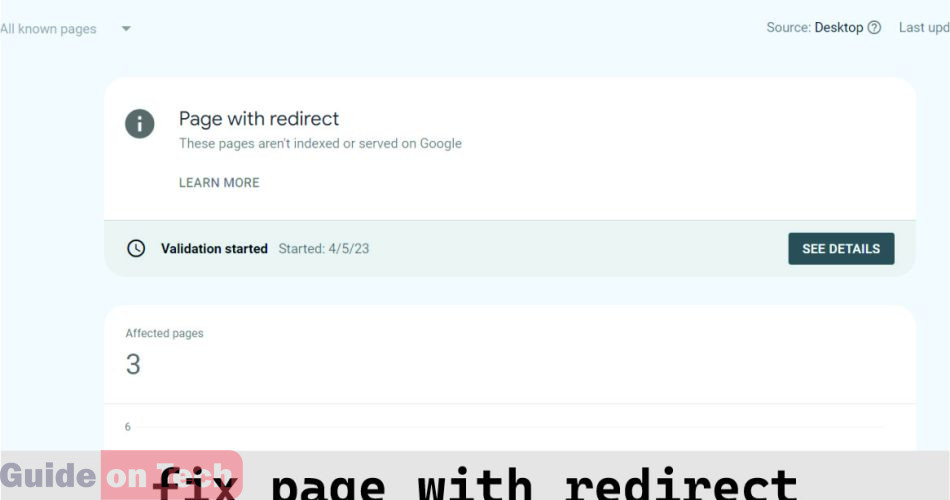
When it comes to fixing a page with a redirect, there are several steps you need to take to ensure that everything is set up correctly. Redirects are often used when a page has been moved, deleted, or updated, and they are essential for maintaining a good user experience and search engine rankings. In this article, we will discuss how to fix a page with a redirect in detail.
Step 1: Identify the Type of Redirect
The first step in fixing a page with a redirect is to identify the type of redirect being used. There are two types of redirects: permanent (301) and temporary (302). Permanent redirects are used when a page has been moved permanently, while temporary redirects are used when a page has been temporarily moved or is being updated.
To check the type of redirect being used, you can use a tool like Redirect Checker. Simply enter the URL of the page you want to check, and the tool will show you the type of redirect being used.
If the redirect is a permanent redirect, you can move on to the next step. However, if it is a temporary redirect, you will need to decide if it is still necessary. If the page has been updated or moved permanently, you should change the redirect to a permanent redirect.
Step 2: Check the Redirect Destination
Once you have identified the type of redirect being used, the next step is to check the redirect destination. The redirect destination is the page where the user is redirected when they click on the original link. You need to ensure that the URL being redirected to is valid and leads to the intended page.
To check the redirect destination, simply click on the original link and see where it takes you. If it takes you to the intended page, then the redirect is working correctly. However, if it takes you to a different page or an error page, then there is an issue with the redirect.
If there is an issue with the redirect destination, you need to update it. To do this, you can use a plugin like Redirection for WordPress or use a manual redirect using .htaccess if you are using a different platform.
See How to remove ‘noindex’ tag on WordPress search page
Step 3: Fix the Redirect Code
If there are any issues with the redirect code, you need to fix it. The redirect code is the code that tells the server which page to redirect the user to. If the code is incorrect, it can cause issues with the redirect.
To check the redirect code, you can use a tool like Redirect Checker. The tool will show you the HTTP status code being returned by the server. If it is a 301 or 302 code, then the redirect is working correctly. However, if it is a different code, there is an issue with the redirect code.
To fix the redirect code, you can use a plugin like Redirection for WordPress or use a manual redirect using .htaccess if you are using a different platform.
Step 4: Update Any Links or References to the Original Page
Once you have fixed the redirect code and the redirect destination, you need to update any links or references to the original page. This is important to ensure that users are redirected to the correct page and that search engines can find the new page.
To update any links or references to the original page, you can use a tool like Broken Link Checker. The tool will scan your website for any broken links and show you which pages need to be updated.
Step 5: Check for Broken Links
After making any changes, you need to check your website for any broken links or 404 errors. Broken links can negatively impact user experience and search engine rankings, so it’s essential to fix them as soon as possible.
To check for broken links, you can use a tool like Broken Link Checker or run a crawl of your website using a tool like Screaming Frog. bull devs can help you.

