
Upgrading your PC’s RAM is a cost-effective way to give your computer a performance boost. RAM, or random access memory, is a type of computer memory that stores frequently used data and programs. When your computer runs out of RAM, it starts using your hard drive as a substitute, which can slow down your computer’s performance significantly. Adding more RAM to your PC can improve its speed and performance, making it a great option for those who are looking to upgrade their computer without having to buy a new one. In this article, we will discuss how to upgrade your PC’s RAM.
Step 1: Determine the Type of RAM Your Computer Needs
Before you begin upgrading your PC’s RAM, you need to determine the type of RAM your computer uses. RAM comes in different types, such as DDR, DDR2, DDR3, DDR4, and so on. Each type of RAM has its own specifications, including clock speed, latency, and voltage. To find out which type of RAM your computer uses, you can use the following methods:
- Check the computer’s manual: If you have the manual for your computer, it should tell you the type of RAM your computer uses.
- Use a system information tool: You can use a system information tool like CPU-Z or Speccy to find out the type of RAM your computer uses.
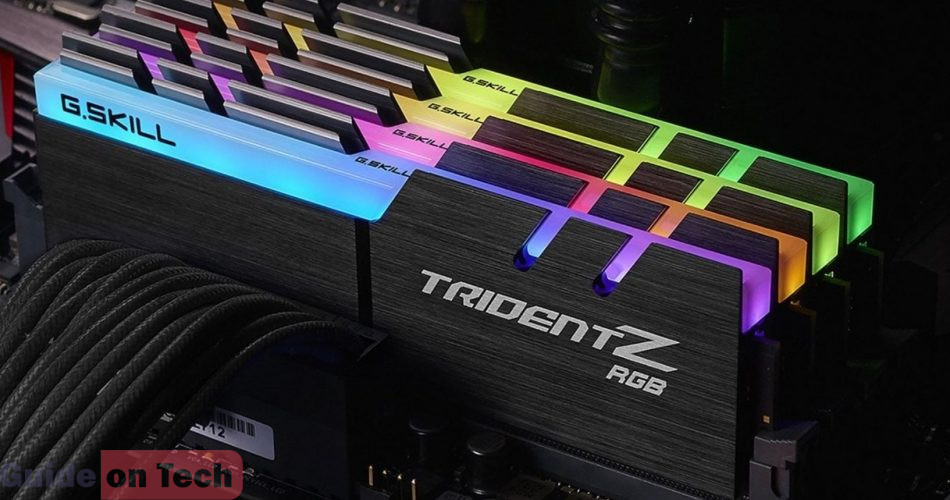
- Open up your computer and check the RAM sticks: If you’re comfortable opening up your computer, you can check the RAM sticks themselves. They should have a label that indicates the type of RAM they are.
Once you’ve determined the type of RAM your computer uses, you can move on to the next step.
Step 2: Check How Much RAM Your Computer Can Support
The next step is to check how much RAM your computer can support. Each computer has a limit to how much RAM it can support, and exceeding that limit can cause compatibility issues. To find out how much RAM your computer can support, you can use the following methods:
- Check the computer’s manual: If you have the manual for your computer, it should tell you the maximum amount of RAM your computer can support.
- Use a system information tool: You can use a system information tool like CPU-Z or Speccy to find out the maximum amount of RAM your computer can support.
- Check the motherboard’s specifications: If you know the model number of your motherboard, you can look up its specifications online to find out the maximum amount of RAM it can support.
Once you’ve determined the maximum amount of RAM your computer can support, you can move on to the next step.
Step 3: Purchase the Right Type and Amount of RAM
Now that you know the type of RAM your computer uses and the maximum amount of RAM it can support, it’s time to purchase the right type and amount of RAM. When purchasing RAM, make sure to buy from a reputable brand and seller. You should also make sure that the RAM you purchase is compatible with your computer.
If you’re not sure which RAM to purchase, you can use online tools like Crucial’s System Scanner or Kingston’s Memory Finder. These tools will scan your computer and provide you with a list of compatible RAM modules.
When it comes to the amount of RAM you should purchase, it depends on your needs and budget. Generally, 8GB of RAM is the minimum for most modern computers, but if you’re a heavy user who runs multiple programs or applications at once, you may want to consider purchasing 16GB or even 32GB of RAM.
Step 4: Turn Off Your Computer and Unplug It
Before installing the new RAM, you need to turn off your computer and unplug it from the power source. This is important to prevent any electrical damage to your computer.
Step 5: Open Your Computer Case and Locate the RAM Slots
Once your computer is turned off and unplugged, you can start the physical installation of the RAM. The RAM slots are usually located near the CPU, and they are easy to spot because they are the only long, thin slots on the motherboard. Open your computer case and locate the RAM slots.
Step 6: Remove the Old RAM (If Necessary)
If there are already RAM modules installed in your computer, you need to remove them before installing the new ones. To do this, you need to gently press down on the tabs located on either side of the RAM module. This will cause the module to pop up, and you can then remove it from the slot.
Step 7: Install the New RAM
Now that you have removed the old RAM (if necessary), you can install the new RAM. Take the new RAM module and align it with the slot. The module should only fit in one way, so make sure you don’t force it. Once you have aligned the module, push down on it until it clicks into place. You should hear a clicking sound when the module is properly seated.
Repeat this process for any additional RAM modules you are installing.
Read => Guide on How to Turn a Laptop Into a Big Screen Projector
Step 8: Power On Your Computer and Test the RAM
Once you have installed the new RAM, it’s time to power on your computer and test it. Turn on your computer and check the system information to make sure that the new RAM has been recognized. You can use a system information tool like CPU-Z or Speccy to check how much RAM your computer has.
You should also test your computer’s performance to see if the new RAM has made a difference. Try running some of your favorite programs or applications and see if they run more smoothly than before. If you notice a significant improvement in performance, then the RAM upgrade was successful.
In conclusion, upgrading your PC’s RAM is a simple process that can provide a significant performance boost to your computer. By following these steps, you can easily upgrade your RAM and improve your computer’s speed and performance. Remember to always purchase compatible RAM modules from a reputable brand and seller, and to take proper precautions when opening your computer case and handling electronic components.