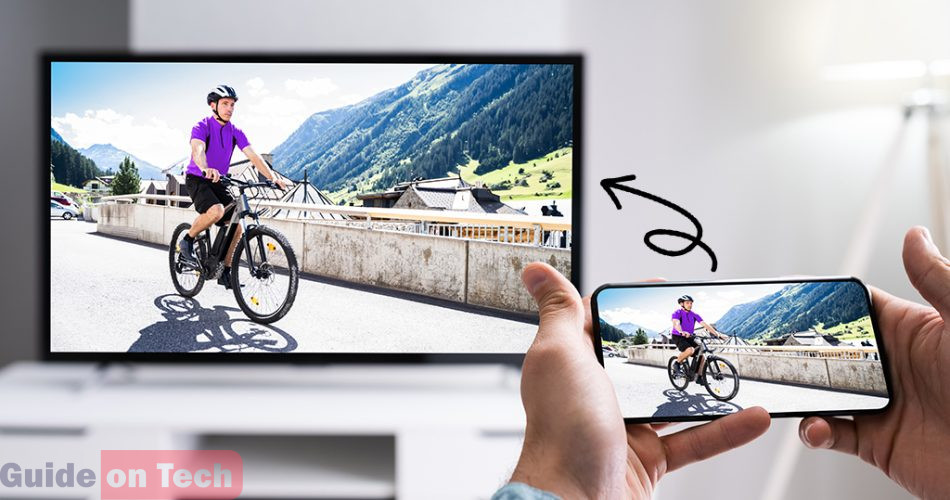
As streaming services become increasingly popular, more and more people are turning to smart TVs and streaming devices to watch their favorite movies and TV shows. Roku is one of the most popular streaming devices on the market, offering a wide range of features and easy-to-use functionality. One of the most useful features of Roku devices is the ability to cast media from your phone, tablet, or computer directly to your TV. In this article, we’ll go through the step-by-step process of how to cast to Roku TV.
Before we get started, it’s important to note that there are a few requirements for casting to a Roku TV. First, you’ll need a Roku device that supports screen mirroring. This includes Roku Express, Roku Express+, Roku Premiere, Roku Premiere+, Roku Streaming Stick, Roku Streaming Stick+, and Roku Ultra. Additionally, your device (phone, tablet, or computer) must be running a compatible operating system. For Android devices, you’ll need version 4.2 or later, and for Windows PCs, you’ll need Windows 8.1 or later. iOS devices must be running iOS 7 or later.
With that in mind, let’s dive into the step-by-step process of how to cast to Roku TV:
Step 1: Connect your Roku TV to your Wi-Fi network
Step 2: Enable screen mirroring on your Roku TV
Step 3: Enable screen mirroring on your casting device
Step 4: Cast media to your Roku TV
Step 5: Stop casting
Step 1: Connect your Roku TV to your Wi-Fi network
The first step in casting to a Roku TV is to make sure that your TV and your casting device (phone, tablet, or computer) are both connected to the same Wi-Fi network. If your Roku TV is not already connected to your Wi-Fi network, go to Settings > Network > Wireless (Wi-Fi) and follow the prompts to connect.
Step 2: Enable screen mirroring on your Roku TV
Next, you’ll need to enable screen mirroring on your Roku TV. To do this, go to Settings > System > Screen mirroring and make sure that “Screen mirroring mode” is set to either “Prompt” or “Always allow.” This will allow your Roku TV to receive a signal from your casting device.
Step 3: Enable screen mirroring on your casting device
Once screen mirroring is enabled on your Roku TV, you’ll need to enable it on your casting device. The process for doing this will vary depending on your device. Here’s how to do it on a few common devices:
- Android: Swipe down from the top of the screen to open the Quick Settings panel, then tap the “Cast” icon. Select your Roku device from the list of available devices, and your screen will be mirrored on your TV.
- Windows PC: Click the “Action Center” icon in the taskbar (it looks like a speech bubble), then click the “Connect” button. Select your Roku device from the list of available devices, and your screen will be mirrored on your TV.
- Mac: Click the Apple menu, then select “System Preferences.” Click the “Displays” icon, then click the “AirPlay Display” dropdown and select your Roku device. Your screen will be mirrored on your TV.
- iPhone/iPad: Swipe up from the bottom of the screen to open the Control Center, then tap the “Screen Mirroring” icon. Select your Roku device from the list of available devices, and your screen will be mirrored on your TV.
Step 4: Cast media to your Roku TV
Once screen mirroring is enabled on both your Roku TV and your casting device, you can start casting media on your TV. This could include streaming movies or TV shows, playing games, or even just browsing the web. Any media that appears on your casting device’s screen will be mirrored on your TV.
One important thing to note is that some apps (like Netflix) have built-in casting functionality that may be easier to use than screen mirroring. If you encounter any issues with screen mirroring, check to see if the app you’re using supports casting natively.
To cast from a specific app, look for the casting icon (usually a rectangle with a Wi-Fi symbol) within the app. Tap the icon and select your Roku device from the list of available devices. The media should start playing on your TV.
Step 5: Stop casting
To stop casting, simply disable screen mirroring on your casting device. The process for doing this will vary depending on your device. Here’s how to do it on a few common devices:
- Android: Swipe down from the top of the screen to open the Quick Settings panel, then tap the “Cast” icon. Tap “Stop Casting” to end the screen mirroring session.
- Windows PC: Click the “Action Center” icon in the taskbar (it looks like a speech bubble), then click the “Connect” button. Click “Stop” to end the screen mirroring session.
- Mac: Click the AirPlay icon in the menu bar, then select “Turn AirPlay Off” to end the screen mirroring session.
- iPhone/iPad: Swipe up from the bottom of the screen to open the Control Center, then tap the “Screen Mirroring” icon. Tap “Stop Mirroring” to end the screen mirroring session.
Alternatively, you can simply turn off your casting device or disconnect it from Wi-Fi to end the session.
In conclusion, casting media on your Roku TV is a simple and convenient way to enjoy your favorite movies, TV shows, and other content on the big screen. By following the steps outlined in this article, you can easily cast from your phone, tablet, or computer to your Roku TV and enjoy a seamless streaming experience. If you encounter any issues, check to make sure that both your Roku TV and casting device are connected to the same Wi-Fi network and that screen mirroring is enabled on both devices.

